Build Your Own Desk Diagrams - Proper Steps For Crafting Resilient Pattern
This is the angle that you need to set your saw to. Then mark the position of the rungs on the uprights. The disc assembly you glued together day before is now ready to cover with cement board. The trouble with these tightwad options is that the cabinets are already finished, and finishing raw wood to match factory finish is tough. Count the number of single and double boxes in your design, then take a look at how many of these pieces you could get from one sheet of plywood. Almost any flexible material will work as a spring stick. (https://woodcraftdiagrams.com/diy-secretary-desk-plans-blueprints)
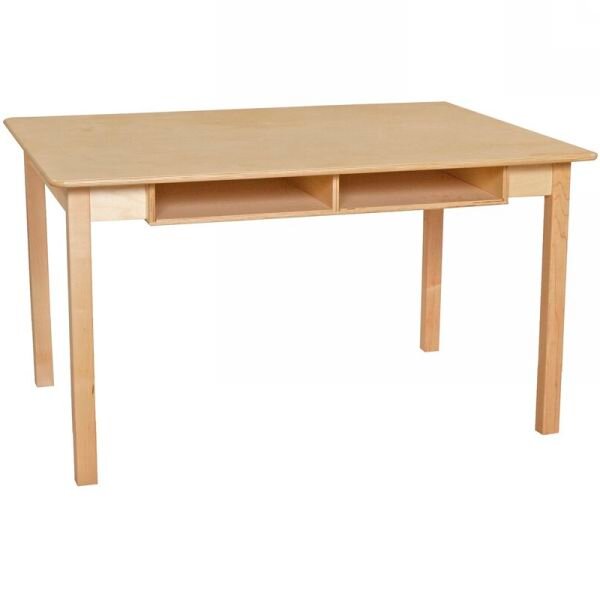
For a clean cut, run drill at high speed and apply light pressure. Remove the hinges from the doors and reinstall them on door based on the direction you want it to swing. Most stores have large piles to pick through-and you won't need much wood-so be choosy. The key is a boxlike construction where the legs join with the top board. They're better for bigger work and shop use. Deck boards can shrink or expand after they're installed, depending on how much moisture they contained when you fastened them down. Avoid last-minute shopping trips by having all your materials ready ahead of time.
Scratches go on the metal, not on the wood. Another nifty (going here) tip to avoid rock-hard glue on your workpiece is to glue it, then wait two hours and scrape off excess. So use masking tape to create neat, even edges. You may have to buy more lumber to get knot-free pieces, so your cost may vary. Pour only small amounts of paint into paint tray. Always use test boards with each new saw setup to check cutting depths and fence settings before making passes on project pieces. Then just add a finish and you've got a beautiful, useful gift. It'll take some care and patience to cut interlocking joints, but after that, assembly is a cinch.
Now you can remove the face frame parts, drill pocket holes and join them with pocket hole screws. For reference, we placed a piece of masking tape on top of each side, and on the top side of each shelf. In addition, you could set legs against a straight line, so you make sure they are aligned properly, before attaching the horizontal supports. Three hairpin legs lift it off ground. Screw temporary cleats to the back of the face frame to support the doors. Screw trammel to workpiece, centering it on the circle you want to rip out. Then we simply added details to the basic structure.
If you plan to paint your bookcase, first apply two coats of shellac over each knot to prevent the knots from bleeding through final paint job. Store plant tags and sticks inside a cheap photo album. That's why it's necessary to use slip sticks to separate the two surfaces while you position them accurately. To kick off this project, cut the beams to length and cove the ends. I label all my cauls with an arrow marking the direction of crown and the length of caul. Finish smoothing it with a coarse file. If you opt for a more rustic-looking planter, skip this step.
Then add the runners that support the baskets. Next, you need to staple chicken wire to structure, as shown in diagram. Predrill, glue and hand-nail cornice blocks to curved apron with 10d finish nails. Sure, rope and bungee cords work fine if you drive slow and don't hit any bumps or get into an accident. Clean crevices, grooves and carved areas with cotton swabs dipped in mineral spirits. Of course you reach for a superglue to fix a broken teacup handle. Bore three holes on both ends of eight horizontal panels. Finally, use the unfolded bill to set the guides on both sides of blade.
This design is also starting point for credenza and wall-unit pieces that follow. Tape a pencil to a clothespin with the tip pointing away from clothespin's jaws. Here are key techniques that would make the task safer and give you the best results. Finally, keep at least a few cups of dry concrete mix handy just in case your mix gets too thin. Finish up by spraying on the final coat. This would keep the shingles, beams and posts from cracking in sun. Since nails protruded slightly from the opposite side, we shortened them a bit by holding them with locking pliers and grinding off tips on a bench grinder.
Hang the other doors in the same manner. With all the parts laid out with their best side face down, mark the pocket hole side and then drill pocket holes. Brace the wheelbarrow with your knee when you're mixing from the side. Small spiral bits break easily when you're making deep cuts. You could make cap like we did or buy one made for deck and fence posts.